.webp)

Introduction
Many teams that have made native apps are starting to add React Native to their existing codebase. There are many reasons behind it - the most important being probably the ability to develop features with one code for multiple platforms.
However, to make the most of it, developers should aim at the latest React Native version possible to leverage the New Architecture. In terms of brownfield development, it might be a little bit tricky, though. Let’s see how to enable it in brownfield apps and what we can do to make it easier.
Enabling the New Architecture in a brownfield app
In general, when integrating React Native in an iOS native app, to turn it into a brownfield app you should use RCTRootView. It’s a UIView that holds a React Native root, providing the interface between the hosted app and the native side at the same time. Let’s say we have an RCTRootView in our brownfield app, and we initialize like this:
This RCTRootView initializer is intended to be used with the app as a single RCTRootView, and the bridge is created internally.
However, if you want to switch to the New Architecture in a brownfield app and use Fabric as a renderer, it takes a few more steps as you need to refactor the code on the app side. With Fabric enabled, you should move from RCTRootView to RCTFabricSurfaceHostingProxyRootView, or eventually use a proper renderer based on the RCT_NEW_ARCH_ENABLED flag. The setup is quite verbose; if you are interested in the details, you can take a look at the implementation of RCTRootViewFactory.
Thankfully, we don’t need to do any of this! Let’s go over the implementation.
Changes in AppDelegate
First step is subclassing your AppDelegate to RCTAppDelegate, which internally creates RCTRootViewFactory and sets up all the necessary parts to make React Native work.
Note: If you don't want to subclass RCTAppDelegate an alternative approach is being developed called ReactNativeFactory, which decouples RCTAppDelegate from the initialization flow.
This sets up our AppDelegate to play nicely with React Native. Notice how we call self.automaticallyLoadReactNativeWindow = false this prevents RCTAppDelegate's applicationDidFinishLaunchingWithOptions method from initializing the default React Native window and a view controller.
On top of that we also need to inform React Native about the source of our JavaScript bundle. In order to do so, add those two methods do your AppDelegate:
Next step: Use RCTRootViewFactory to spawn new views when needed.
Example usage
As an example, let’s use a brownfield app written in SwiftUI (GitHub repository) and leverage React Native for one of the tabs using native TabView component.
First let's use the AppDelegate above in our SwiftUI App struct:
In order to bridge React Native to SwiftUI let's use UIViewRepresentable to create a new React Native root view inside.
Below we create a new struct called ReactNativeView which accepts moduleName and rootViewFactory to create a new view.
Module name is the parameter passed to AppRegistry.registerComponent function call on the JavaScript side.
Example:
Also if you want to pass some additional props to React Native view, you can invoke viewWithModuleName:initialProperties method and pass a dictionary:
On the JavaScript side you can use those props like this:
Now let's drop in the ReactNativeView struct passing module name and rootViewFactory that we can retrieve from AppDelegate:
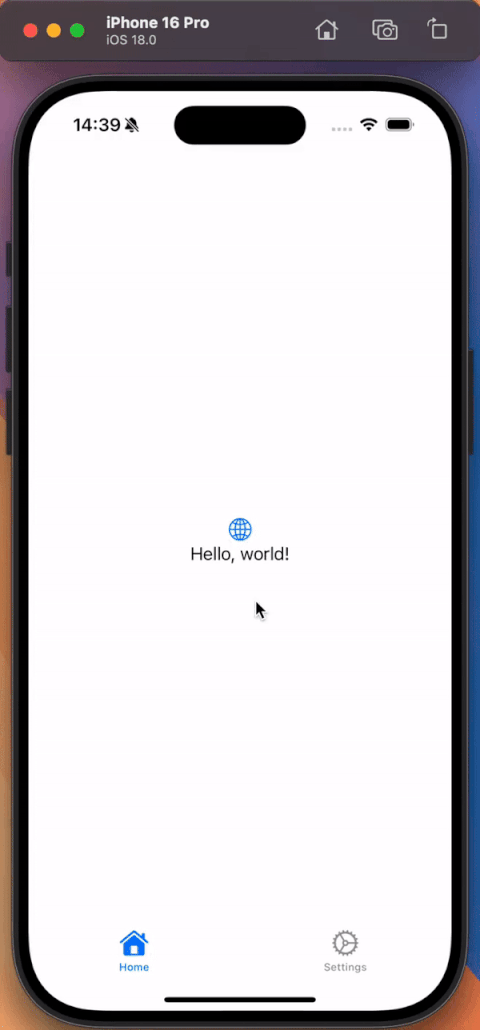
Results
As a result we get clean integration of React Native into a native SwiftUI app, allowing us to gradually migrate to React Native for screens we need.
React Native window is loaded after the user visits this tab, keeping in mind resource management.
Conclusions
RootViewFactory API is a valuable tool that simplifies the process of integrating React Native with your existing iOS or macOS app. By adopting this pattern you can make your migration to the New Architecture easier and streamline the upgrading experience of React Native in your brownfield apps.

