I thought this would require a bunch of custom native code, custom solutions, and basically a bunch of work. But it turns out that some time ago amazon-ivs-react-native-player package got published, and it allows us to add streaming players in just a few lines of code. In this post, I will present how to use this library.
What is Amazon IVS?
But first things first. Let’s start by explaining what Amazon IVS is. It stands for “Interactive Video Service,” and it is a managed live streaming solution offered by Amazon Web Services (AWS). It allows developers to quickly set up live interactive video experiences in their own applications. Amazon IVS is essentially built in the same technology that powers Twitch, one of the world's leading live streaming platforms.
Project setup
I’ll present an example of how you can set up an app and use this library. You can check out the repo containing the whole example app which I’ll build.
To create a stream you will need IVS Channel details. Check how to do it in a guide on getting started with Amazon IVS. There’s also a broadcast stream available e.g. with this Vercel Guide.
You may also check a sample stream; it’s working at the time of writing this article.
For the sake of this article, I’ll create a simple app with React Native CLI:
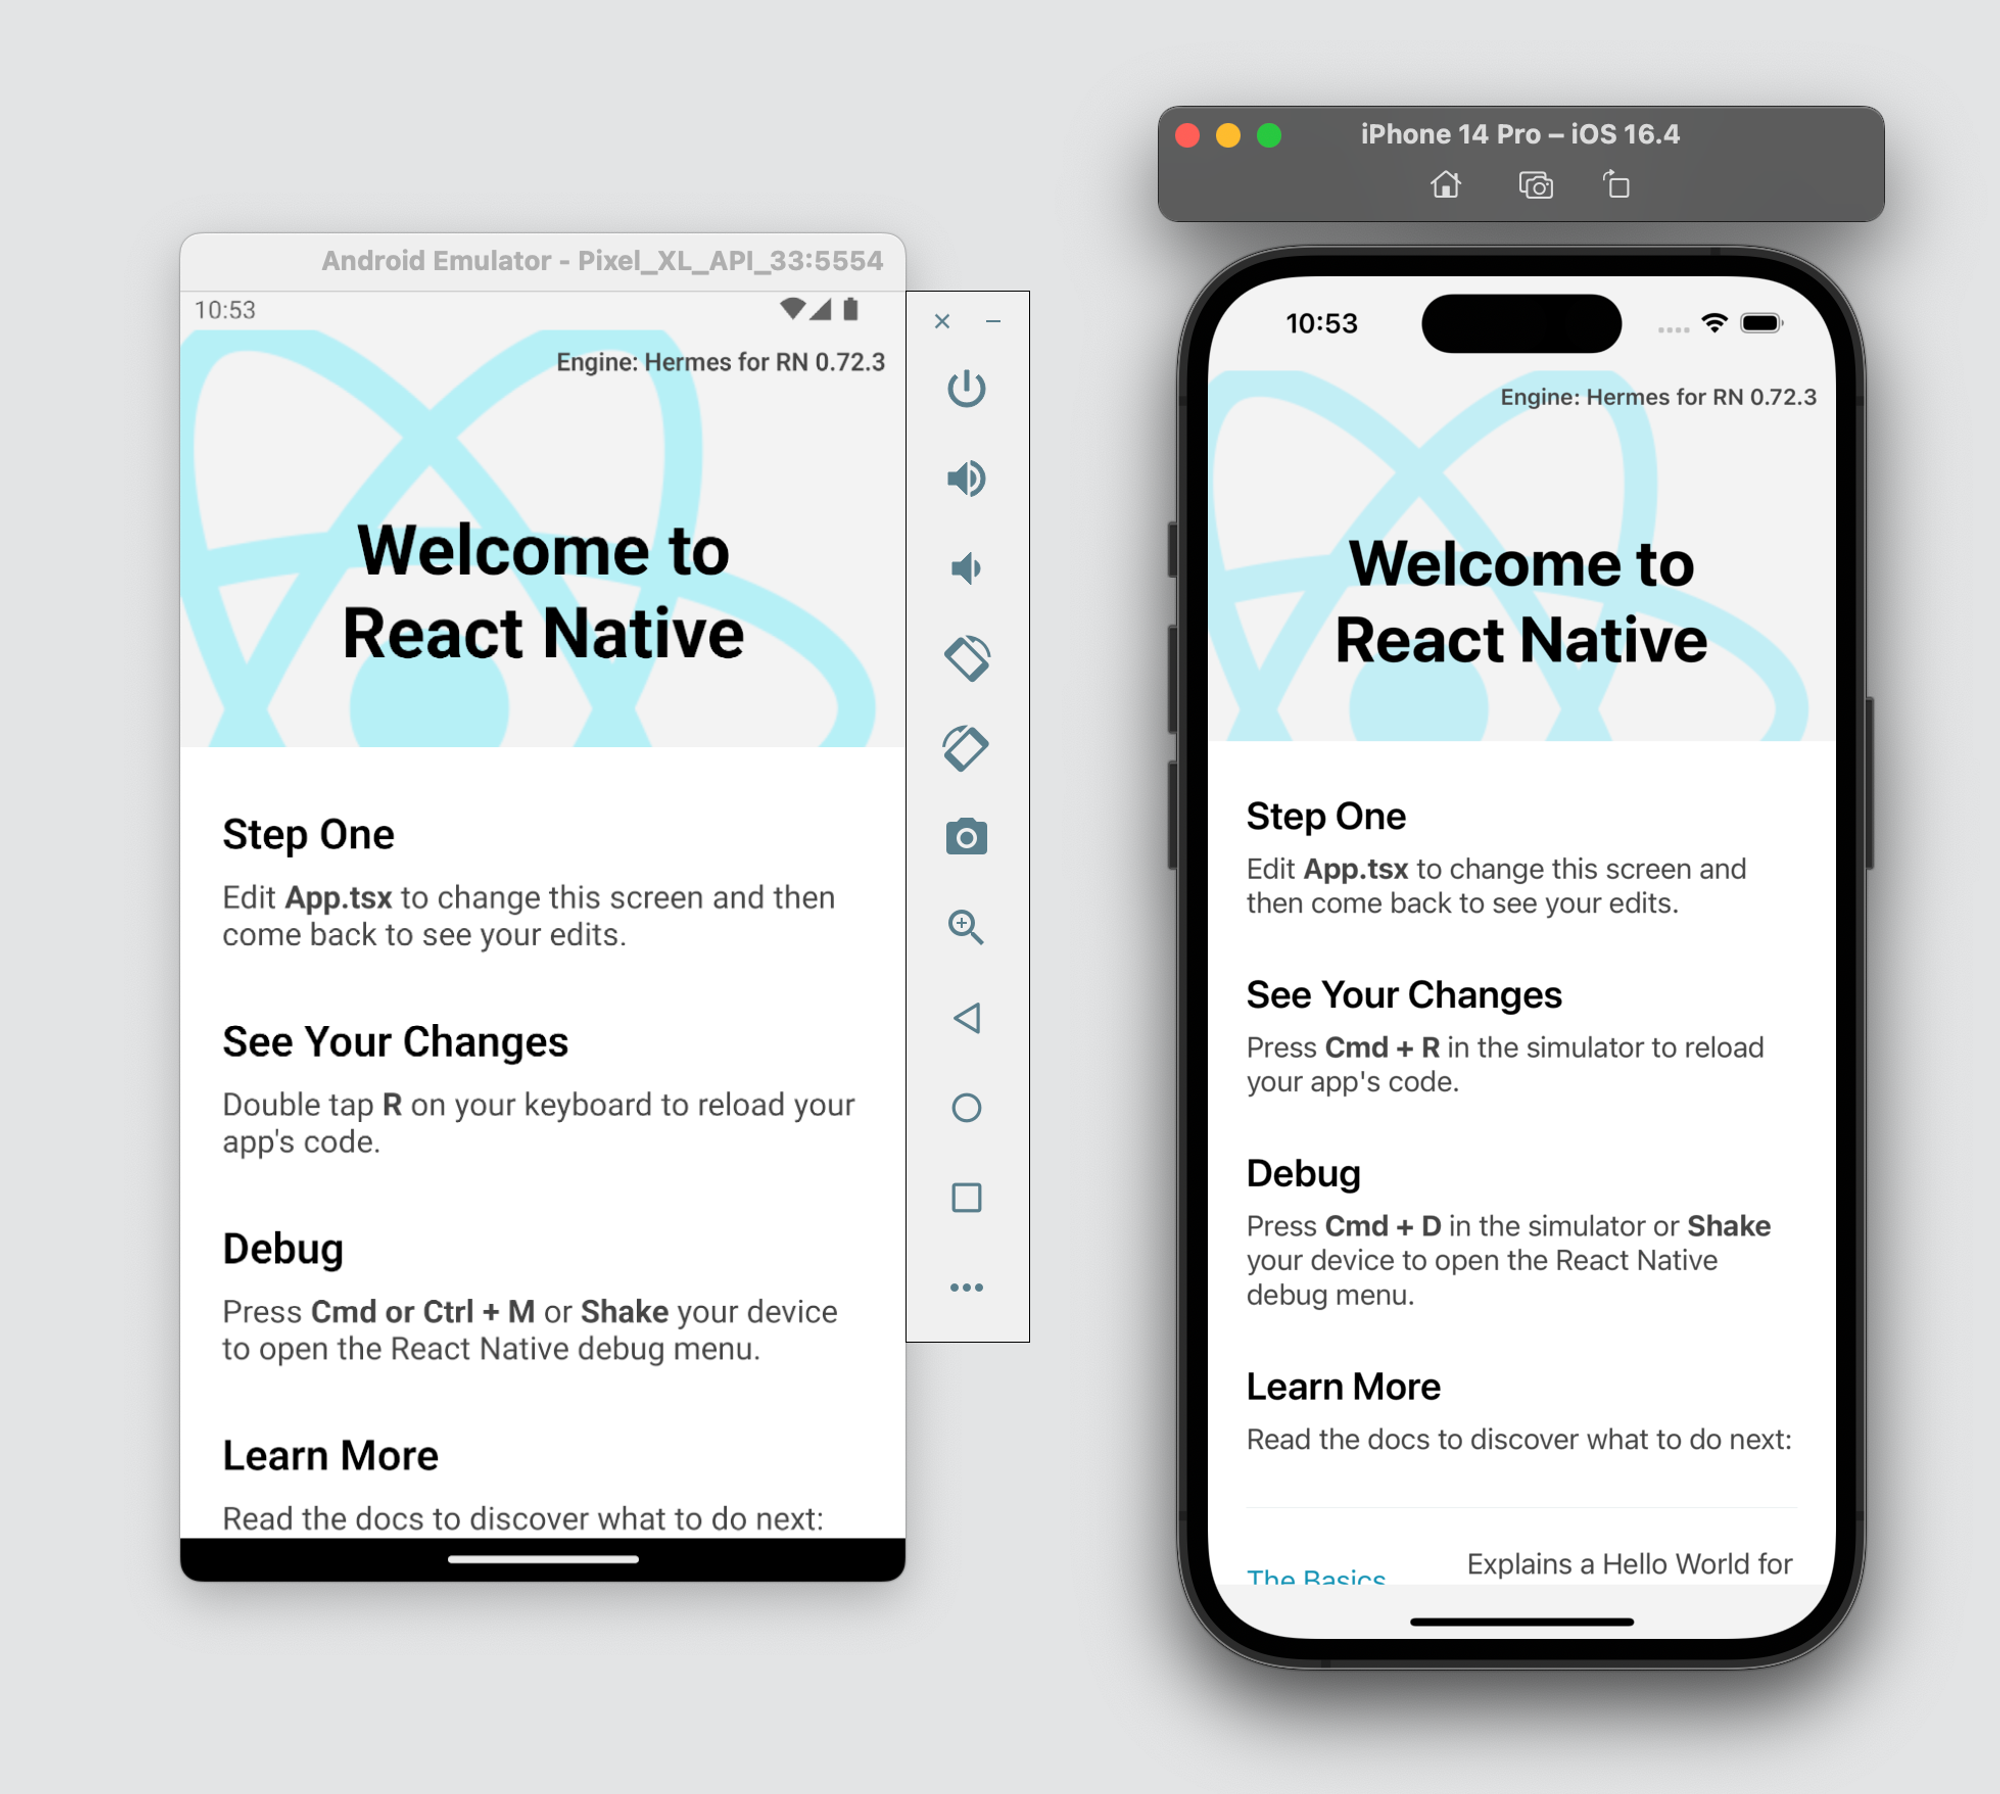
1. First, we need to run npx react-native@latest init SampleApp to create an app
2. Then we need to run the app on Android or iOS, we can do that simply by running run-ios or run-android commands
3. Now we need to add some UI; for this, we’ll use react-native-paper library which we maintain at Callstack. I created a simple DashboardScreen with one TextInput for passing URL and Button which will navigate to StreamScreen, which I will create next.
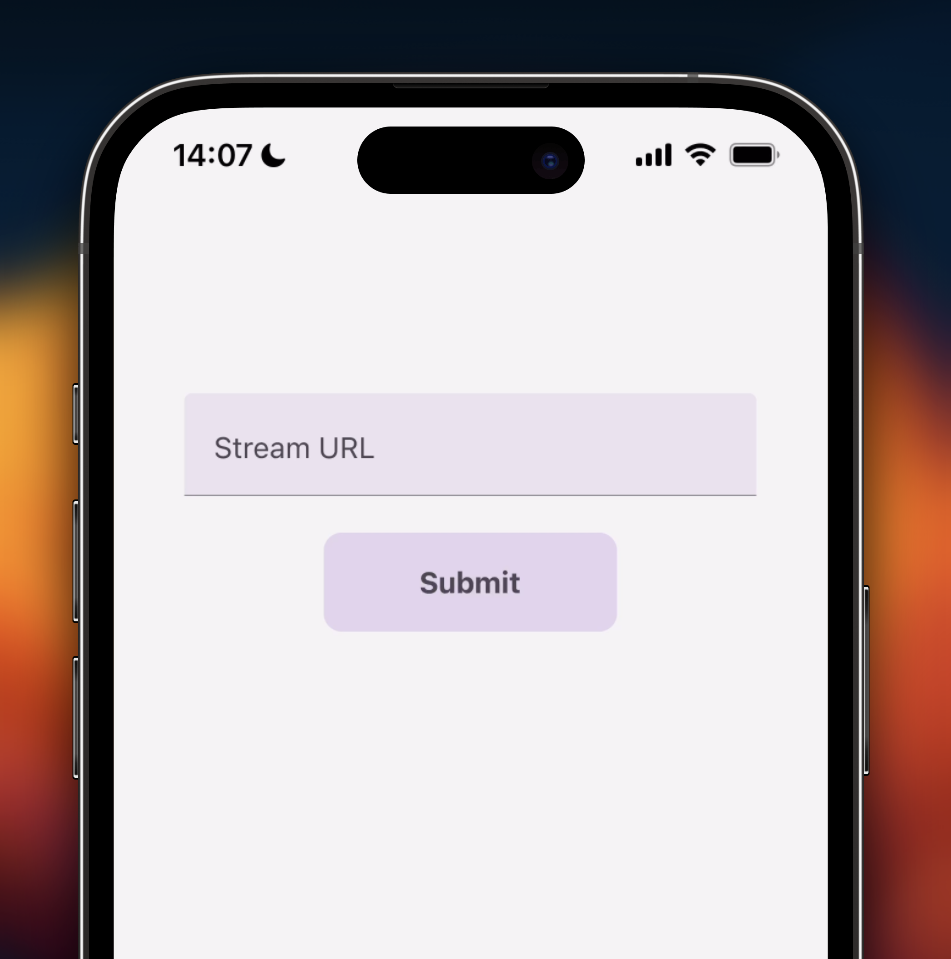
4. In this step we need to implement navigation and add second screen StreamScreen, for navigation I used react-navigation library. StreamScreen will contain a stream player. You can check changes for this step in this PR: Pull Request #1.
5. Then if we want to run app on iOS we need to install Pods, we can do it with:
6. And finally to use this library we need to imports IVSPlayer, and pass the url to stream as streamUrl prop
Now finally we can test it, so here I’m passing a URL to the stream and IVSPlayer component correctly displays stream
.gif)
Thanks to the amazon-ivs-react-native-player package, you can set up a streaming player with just a few steps without any custom native code. You can also play with the example app that is inside the repository - it contains more complex usage and all props that you can use 🎉 Give it a try!


Learn more about TV
Here's everything we published recently on this topic.

