React Native, Firebase and You
Have you ever had an idea for the next billion-user application, but you gave up on it, because you have no backend experience?
Or maybe you wanted to test a few things out, but turns out you need to use some database and/or user authentication, so that’s another no-no?
What if I told you, you don’t have to have any backend skills and still be able to develop a full-stack project?
If you’re with me, behold, here comes the Firebase!
What is Firebase?
Firebase is a backend-as-a-service platform that helps you create web and mobile applications with no server-side programming. Things like authentication, (real time) databases, cloud storage, analytics and many more are there, waiting for us to put them in good use.
We’re given all those goodies for free. If you want to see full-pricing information, head to the Firebase pricing.
In this article, I’ll show you a way to create a Firebase project and integrate it with your app.
Update: This article has been updated to reflect the latest changes in Firebase world:
1. A new document database Cloud Firestore is in beta and it’s awesome.
2. react-native-firebase 3.0.3 is out
Preparations
Note: All platform-specific installation have to be done in an adequate folder in your RN project (like ios/ and android/).
Create a Firebase project
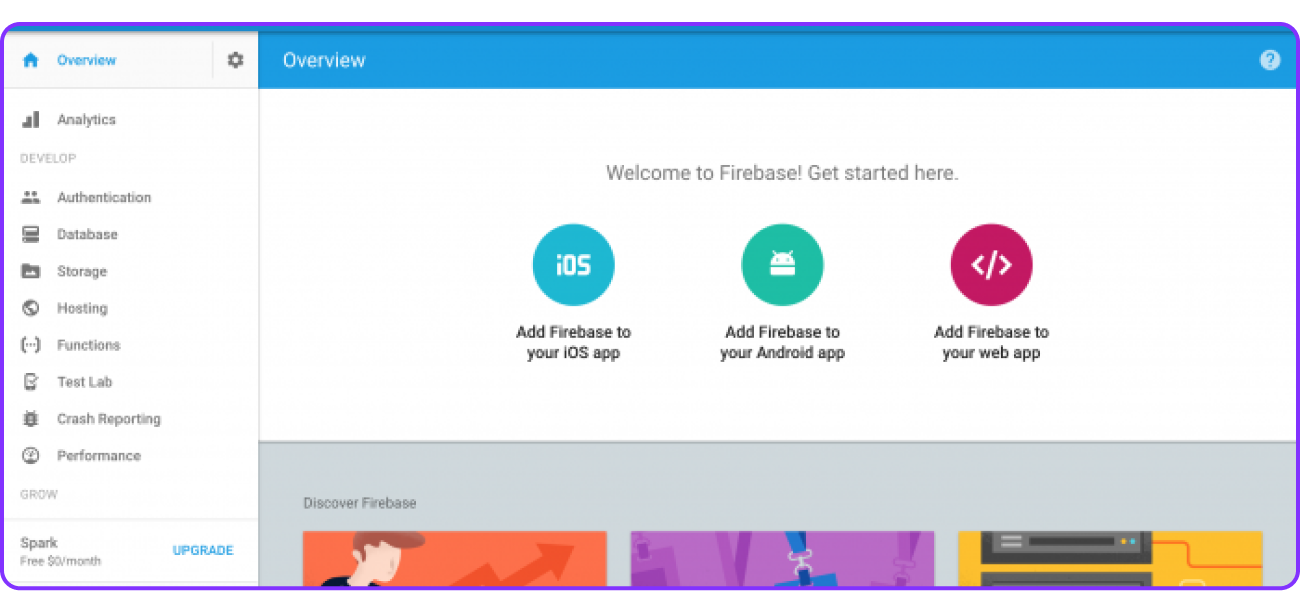
Create a new project in a Firebase console. When you finish, it will welcome you with such a screen:
Enable Firebase services
Firebase is a collection of services, such as Authentications, Hosting or Database. To start using a service, simply go to the adequate section on the side menu and enable it. Here’s example of an Authentication module screen:

Firebase gives us many methods to authenticate users, from basic email/password combination, to third party services like Facebook, Twitter or Github. Here's more information about products.
Don’t close the Console yet, we’ll need it in a few minutes.
Creating a React Native app
Using <rte-code>react-native-cli<rte-code>, create a new project with:
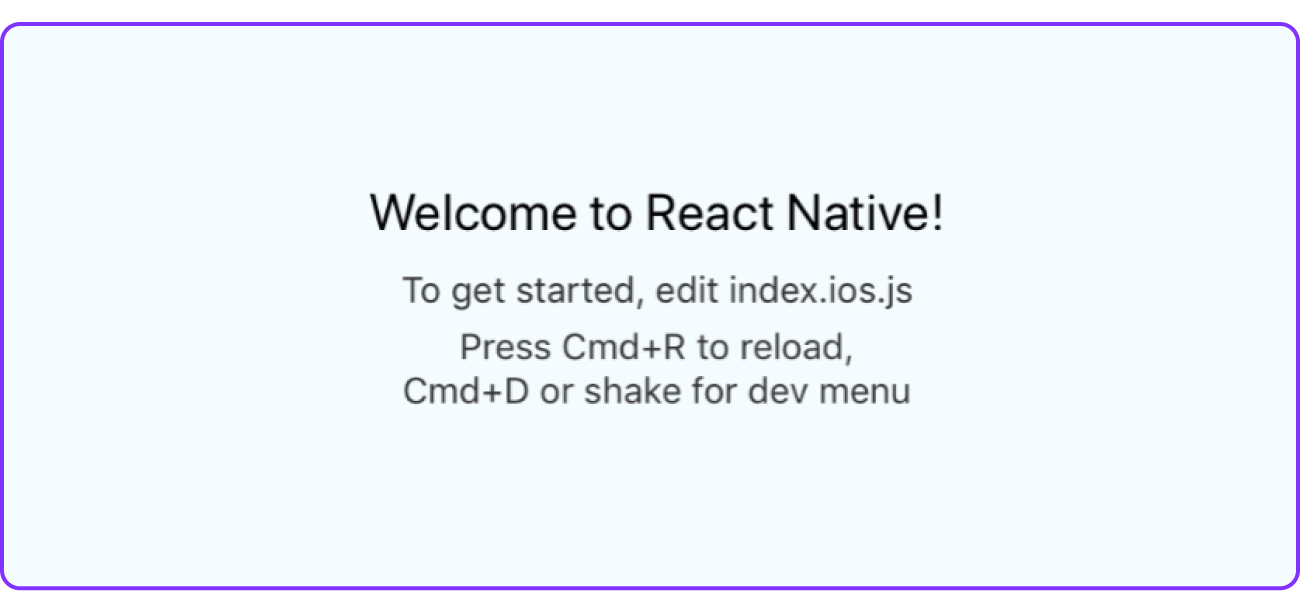
Now, you should be able to run the app by either using <rte-code>react-native run-ios<rte-code> or <rte-code>react-native run-android<rte-code>.
Installing official SDK
Sweet, now we have to add the official Firebase SDK on native side on both platforms. We’re heading back to Firebase Console.
iOS
From the Firebase Console main screen, press Add Firebase to your iOS app. Popup will appear with some inputs to fill in.
iOS Bundle ID can be found in Xcode, General tab.
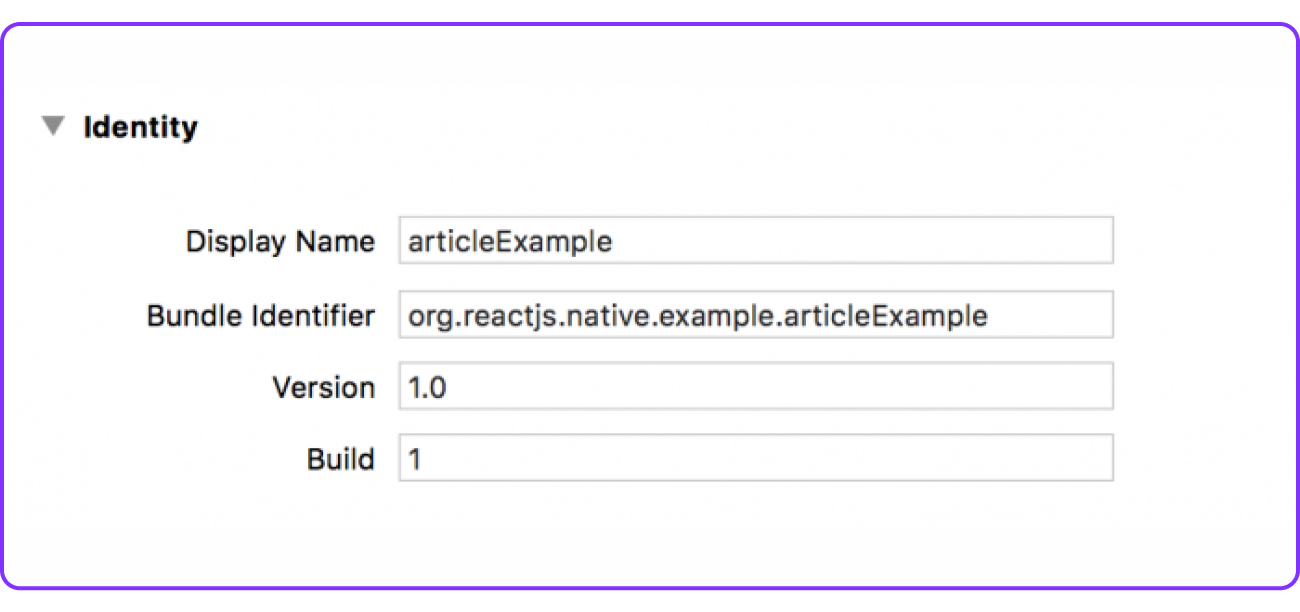
When you fill that up, click Register, then follow the guidelines from Firebase, where you’ll add GoogleService-Info.plist in your project, and install required pods.
Android
From your Firebase project screen, go to project settings by clicking the settings icon on the side menu. There, click Add App and pick Android.
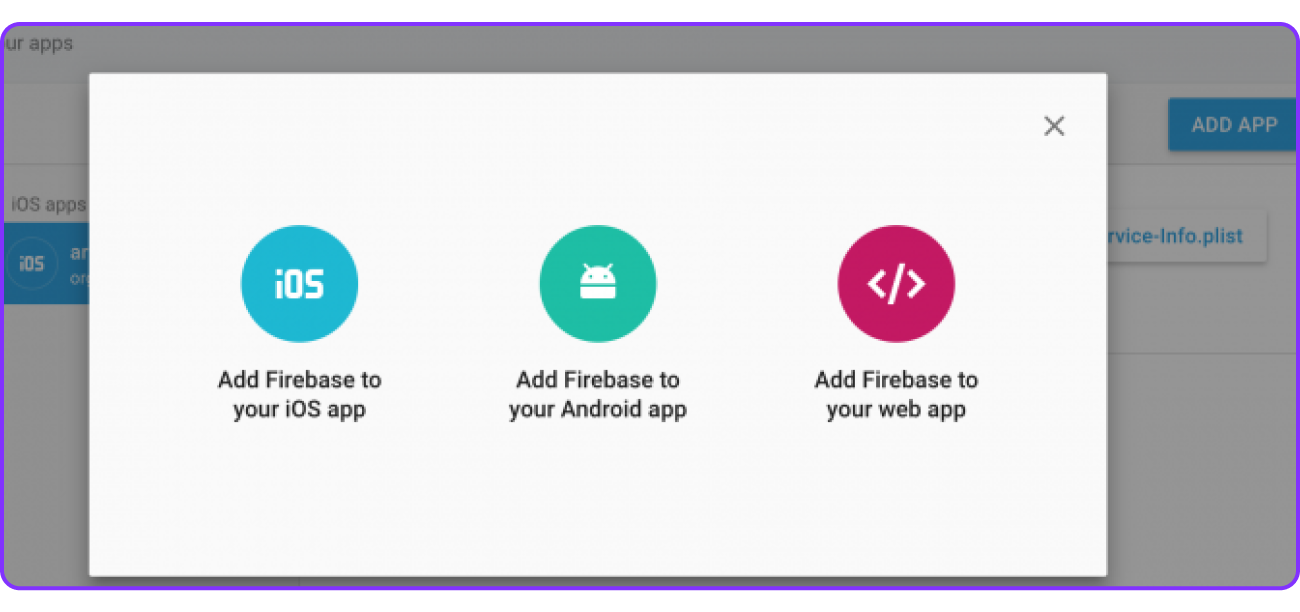
Note: Android package name can be found at android/app/build.gradleat applicationId field.
Next, download the<rte-code>google-services.json<rte-code> file and place it at <rte-code>android/app/<rte-code> level. Last step is adding Firebase SDK to our project — just follow Firebase steps.
Installing Firebase in our App
We’ll need react-native-firebase, so let’s install it.
In case you wonder why we use this module, instead of Web version of Firebase (which is also available to use in RN), here’s the quote from RNFirebase README:
RNFirebase provides a JavaScript bridge to the native Firebase SDKs for both iOS and Android therefore Firebase will run on the native thread, allowing the rest of your app to run on the JS thread. The Firebase Web SDK also runs on the JS thread, therefore potentially affecting the frame rate causing jank with animations, touch events etc.
Simply put, we’ll just inform native side of what to do with Firebase, and keep our JS thread clean for animations and other stuff.
Let’s set up RNFirebase.
iOS
During Firebase SDK installation, you’ve created a Podfile at <rte-code>ios/<rte-code>folder. We need to add few lines there to install necessary modules for RNFirebase.
And run pod install. From now on, use <rte-code>ios/[YOUR APP NAME].xcworkspace<rte-code> instead of <rte-code>.xcproj<rte-code> file.
Note: Some of you might notice that I’ve added React Pods to install, meaning that we’re going to have 2 versions of React in iOS project. I did it to avoid Firebase errors during React linking. If you want to see how to use only one version of React (using cocoapods), check out instructions here.
Android
In <rte-code>android/settings.gradle<rte-code> add those lines:
Next, head to <rte-code>android/app/build.gradle<rte-code> file and add:
And finally, let’s add few more lines in our <rte-code>android/app/src/main/java/com/[YourAppName]/MainApplication.java<rte-code>:
And we’re done! Our App is ready to implement some cool stuff with Firebase!
TL;DR
I’ve created a repo with prepared app. You just need to provide your own <rte-code>GoogleService<rte-code> files.
Summary
Next time, we’ll dive into actual usage of Firebase: User authentication (using email/password, Facebook, Twitter or Github ), database usage (real-time DB and new Cloud Firestore), storage and more, so stay tuned!
I hope you enjoyed this article, so stay tuned for the next part!
Learn more about
Backend
Here's everything we published recently on this topic.
We can help you move
it forward!
At Callstack, we work with companies big and small, pushing React Native everyday.
Web App Development
Build a solid foundation that meets latest standards and scales easily to other platforms in the future.
Next.js Development
Use Next.js to build fast, SEO-friendly web applications with server-side rendering at the edge.

