Write React Native Apps in 2017 Style With MobX
Let’s start with a few words of introduction, React / React-Native is not only about Redux. This time I wanted to show the usage of MobX, which is pretty simple to develop. At the beginning you need to change your thinking a little bit, for a more objective-like in Java. After a few days of playing with MobX it seems that it is easier to understand when compared to Redux. Additionally, you can write less code as well. What do we want to achieve ? A simple app to search for music tracks in Spotify API.
My second goal was to use some modern technologies within the app:
- <FlatList /> (not released yet, which will replace <ListView />),
- React-Navigation,
- StyledComponents for React-Native,
- Flow.
Full example on Github repository
Getting started
Init React-Native app with -rc version which includes FlatList:
Install dependencies and plugins:
I’ve listed only major dependencies, you can find the rest of them on Github repo (including things like linter / flow config).
In .babelrc file configure babel plugins in order to use decorators:
Setting up navigation
We need to define StackNavigator which provides a way to move between screens, where each new screen is placed on top of a stack. In stack config we can define the initial route, styles and so on.
Implementation of Home (main container) will be described later.
I like to use one index.js file for both platforms, so we can remove all code from index.android/ios.js and place there:
import './src';
Then in our new root file which is src/index.js we are able to use Stack:
MobX — Logic in your app
Store implementation
The main responsibility of stores is to move logic and state out of your components into a standalone testable unit that can be used in both frontend and backend JavaScript.
We should start with creating stores folder in root directory. Inside of stores folder we add new file searchStore.js. It’s the place where we’ll define logic needed to handle search for Spotify songs.
- Create class called SearchStore.
- Our class contains @observable properties that can be used on instance fields to get observable capabilities: @observable query — string for searching in Spotify API, @observable tracks — array which will contain list of tracks
- Setters and getters.
- Method getTrackList() to fetch songs from API, I used axios library to get data from blob file type.
Class has export default type, because I’m creating new instance for each store and grouping them in stores/index.js. When the app grows, it’ll allow me to easily inject each store to container with @inject decorator.
App Provider
<Provider /> passes stores to containers using React context. To achieve that we need to wrap our navigation component.
Preparing components
SearchInput
We should start with the input responsible for searching query. To style components I use styled-components for react-native.
With styled, component code looks cleaner. No need to use StyleSheet.create() && style={styles.something}With flow you can type all needed properties so environment will alert you if something is wrong.
ListItem
It’s a simple component responsible for rendering item in FlatList with few props to pass information about the song (image source and title).
Make it work — connecting container
Injecting stores, reactive components and state handling
By using @inject decorator we are able to pick each store we want in container, @observer function forces components to re-render each time when @observable value changes.
I also used @observables to handle state of component instead of using normal state object. @observable query will be binded to the value displayed in <SearchInput />. Function onTextInputChange is using lodash.debounce method to make searching for a query smoother and prevent data re-fetch on each input change.
The new upcoming feature in React-Native is <FlatList />. I really wanted to check out, because things like dataSource, cloneWithRows and rowHasChanged are going to be deprecated. Data prop is just a plain array, keyExtractor prop is a function that extracts unique keys to list items, render methods work same as in <ListView /> but have different names. For example, I used a simple logical condition to render FlatList if there is data in searchStore.tracks which was our list of fetched tracks. renderItem goes through each element of array and mapping to <ListItem /> component.
Final effect:
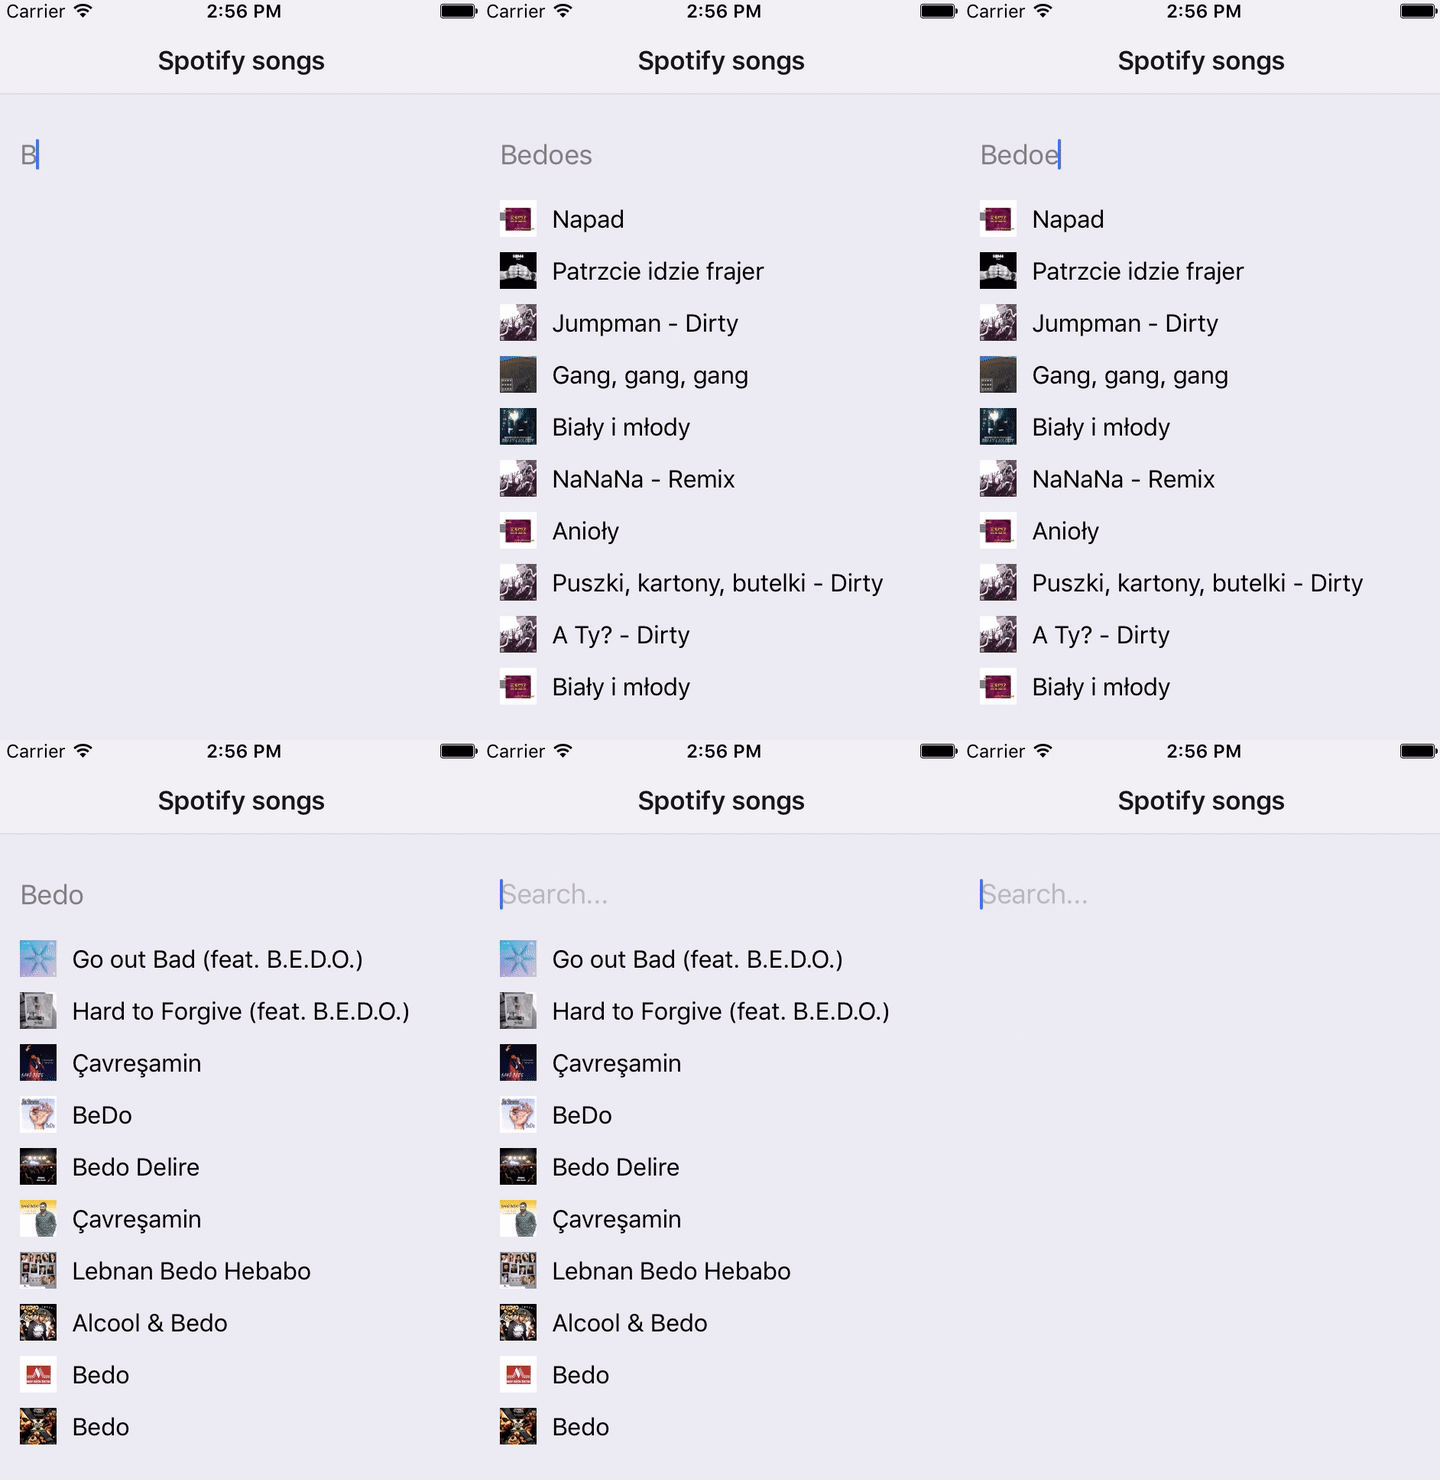
For me MobX is really good for small apps because I spend less time preparing the project, and the whole setting up process is easier than in Redux where you need to configureStore, write actions and reducers. Here you handle the whole logic for store in a one file. Injecting stores might be frustrating if there are lots of them. FlatList looks great, but still lots of methods are not implemented yet, like ItemSeparatorComponent or getItemLayout and more, but it’s a candidate for RN43 and not sure if it’s going to be released. See the final repo.
If you’re interested in professional web or mobile application development or consulting, make sure to contact us. We specialize in the React Universe.


Learn more about React Native
Here's everything we published recently on this topic.
